Wednesday, 2 March 2011

New generic front panels for DIY kits

I now have stock of a range of 4HP and 8HP front panels to suit the Synovatron DIY Prototyping Kits. These can be purchased with the kits as an option or separately. 


The 8HP panel suits DIY Kit 1 and has two variants, one to suit a column of jacks (8.2mm holes) and a column of pots (7.5mm holes). The other variant has 3mm pilot holes to give you the flexibility to mix and match front panel components by drilling out to suit jacks, pots or switches, or left as is for 3mm LEDs.

The 4HP panel suits DIY Kit 3 and also has two variants, one to suit jack sockets (8.2mm holes) and the other with just 3mm pilot holes so they can easily be modified to larger diameters for jacks or switches or left as is for LEDs.

The panels are made from 2mm aluminium and have a brushed, clear anodised finish.  The mounting holes (slots) are suitable for both Doepfer and Analogue Systems hole pitches.

These panels make the kits more complete and I will also offer a set of knobs in DIY Kit 1 to finish it off.

Kit 1 options: The soft-touch knobs can be ordered in white, grey, red, orange, yellow, green or blue.
Prices range from £5.99 to £8.99 if ordered separately, a bit cheaper if ordered with a kit. The knobs are £1.25 for 5 if ordered with a kit.

The panels will also include a set of M3x6 screws and plain washers.

Update:
Here's a 8HP pilot hole panel that I drilled out for a customer so he could mount a mult on the left and an OSC303 on the right (Note: he bought the OSC303 as a kit without front panel and jacks. There's no point in trying to do this if you have one DinSyncs's excellent clear blue panels). The jacks were drilled out to 8mm, the pot to 7.5mm and the switch to 6mm. Looks pretty sexy!

Tone's top tips:  
(1) Cover the panel in masking tape so the swarf doesn't scratch the front finish. 
(2) start with smaller drill sizes and work up to the final size else you may end up with odd shaped holes.
(3) Deburr holes on both sides with a countersink bit.


Wednesday, 16 February 2011

Cliff CL1384 (S6) 3.5mm Jack Sockets - Rumours vs Facts


Following a really useful blog post by PatchPierre about dealing with poor connections on jack sockets I started to wonder if the jack sockets that I have used on my kits and intend using on my forthcoming CV Tools and Diode modules may have quality issues. I read through a few forums (fora?) and blogs on the subject and it does leave you with the impression that there could still be issues with Cliff sockets unless you get the right ones. So I approached Cliff directly who have clarified the situation as follows:-
  • Synovatron: "I've been using CL1384 jacks for several years now without any issues but am aware that there have been poor contact issues in the past. Your website refers to type C contacts for far-eastern jack plugs and also to be aware of counterfeit types. I read that Doepfer now use CL13841 sockets due to earlier problems (are CL13841 and C contacts the same thing?). Can you please clarify the situation for me?"
  • Cliff: "Thank you for your mail. I can clear any confusion up very clearly by saying that we use the C contacts on all S6 jack sockets. The CL13841 part is no longer sold but CL1384 is now exactly the same as we are using the C contacts as standard."
So in summary you should get no problems with current standard Cliff jacks but older ones can be fixed using PatchPierre's advice.

Tuesday, 25 January 2011

Analogue Systems to Doepfer Reverse Adaptor

Here is the prototype of the Analogue Systems to Doepfer Adaptor variant that I promised a few days back (The production version is now available. Edit Jan 2012) The adaptor uses a 16 way DIL turned-pin IC socket on one side and a PCB mount header socket on the other side; the version shown below is just a prototype using a cut-down header socket, it's a bit rough but demonstrates the principle - which is it allows you to use an Analogue Systems module with its cable in a Doepfer rack.


AS ribbon cable connector - note the red stripe at pin 1 (top) end
Here you can see the pin 1 and TOP markings

Doepfer bus board connector

Adaptor fitted to my AS RS-35 Module - note the red stripe at the top

The order code for the socket-to-socket version (above) is ASM2DB Adaptor (or Analogue Systems Module to Doepfer Bus Adaptor). The code for the plug-to-plug version is DM2ASB Adaptor (or Doepfer Module to Analogue Systems Bus Adaptor). The product page has been updated showing the production versions available for sale. 

Wednesday, 19 January 2011

Analogue Systems to Doepfer Adaptor

Hi all and a very happy new year to you all, I've been a bit slow with my first 2011 posting but have been busy.

I saw two enquiries on the Analogue Systems/Doepfer forums for adaptors to enable Doepfer modules to be used in old-style AS racks which are those with just 16-way dual in-line IC sockets; the newer types also have a few Doepfer header connectors. It seemed that the usual sources had dried up so I did some checking to see how this had been addressed in the past.  

There were two approaches; the first was to use a very messy ribbon cable adaptor that is not 1:1 which must have been nightmare to assemble, the other was a small PCB which allowed a Doepfer ribbon cable to mate with an Analogue Systems ribbon cable and this, I thought, was a bit awkward especially as it just sits anywhere in the rack with bare contacts that could easily short out on the metalwork.

I set about designing a solution which I think is really neat, onubtrusive and quite versatile. Here it is; this is the first build of a 100 PCBs and already have orders for 12 of them. Note the red stripe - just line up the Doepfer cable's red stripe with it.  The adaptor is also marked with pin 1 and an orientation mark so pin 1 goes to the top (in fact to pin 1) and the red stripe goes at the bottom - SIMPLE!


The above adaptor is barely bigger than the IC socket and allows you to do the following:-

  1. Use a Doepfer module and ribbon cable in an AS rack - it plugs into the AS bus board.
  2. Use an AS module and Doepfer cable in a Doepfer rack - it plugs into the AS module socket.

Here is the adaptor plugged into an AS module and below a Doepfer cable is fitted to the adaptor.  This is my only AS module and it's the RS-35 External Interface which has two connectors and the top one doesn't really have enough clearance to fit a standard vertical header so it's probably not the best example but never fear.  As far as having two connectors goes it's simple to fit two Doepfer headers at one end of a ribbon cable (which I will gladly supply) and the adaptor can be made with a right-angle header so it doesn't protrude too high (again I will gladly supply those too - this will all be posted up on my Products page in a jiffy).


Not groundbreaking, not rocket-science just a bit of thought and careful design and in case you are wondering yes it does translate the connections so that all the supplies are in the right place.

In a few more days I'll also have a variant that will plug into a Doepfer bus board to give you AS sockets so you can just keep the ribbon cables you have already.

Please note that Doepfer and Analogue Systems are registered trademarks and that Synovatron is not affiliated with, or endorsed by, either company.

Tuesday, 21 December 2010

Preview 2011 - the next module

Here's a sneak preview of the next module on the drawing board with a working title of "Diode". I'll leave you all to guess it's function - hopefully if I've done the front panel design right then that should be an easy task for you. Answers on a postcard.....


What's happening with CV Tools? Just having a last minute ponder and double-double-check before I commit to copper (and expense). I expect the first batch of production models to be available by the end of January.


Here's a question: The colourful high-res graphic front panel designs are cheap and easy enough for me to produce for prototypes but will be a more expensive for a production run. 
Does a nice front panel in a range of bright and colourful styles interest anyone or are we only interested in function?


I'd be grateful for any comments.


This will probably be my last post in 2010 so I just want to wish you all a happy, safe, fun and rewarding 2011. Keep those analogue modulars throbbing out amazing sounds.... Tony

Tuesday, 14 December 2010

My favourite synth module - Doepfer A-156 Dual Quantizer

Taking a leaf out of PatchPierre's book I have decided to post an article about a really neat module: the Doepfer A-156 Dual Quantizer.

Firstly what does a quantizer do? Well it is a control voltage processor, it takes a voltage applied to its input and outputs a control voltage that only has certain discrete voltage levels. Normally a quantizer will be used between a step sequencer and a VCO to control its pitch. For instance a chromatic quantizer will only output voltages that are in 1/12th of a volt (83.3mV) or semitone steps. A diatonic quantizer will only output voltage steps that represent the notes of a major or minor scale.

I like the A-156 so much I have two of them.  So what makes it so special?

For a start it is two separate quantizers; In the last week I have heard two people say that Quantizer 1 is not as useful as Quantizer 2 because Quantizer 2 has major/minor scale and chord switches whereas Quantizer 1 is just chromatic. Tone's Top Tip #1: There is a jumper that can be set so that both quantizers use the switches (update 19th Dec: Check out PatchPierre's modification). This is great because now two VCOs can be controlled to give a two-part harmony or in my case with two quantizers and four VCOs, a four-part harmony. This works even if what you apply to the inputs is random e.g. LFO into one and S/H into the other. You only get pitches that sound good together (unless the switch is in the All position) and also first set up both VCOs to be in tune with no CV input applied. I usually tune my VCOs to D with the quantizers outputs set to 0V. With the switch set to major scale what comes out is all in D major.

Top Tip #1 Jumper setting
Tone's Top Tip #2: The Trig In jack means the quantizer can be used as a Sample and Hold (S/H). It will only output a new quantized note when it sees a trigger pulse. Ok so its quantized but it's useful.

Tone's Top Tip#3: The Trig Out only fires when it sees a change on the input that causes a new quantization level to be output - so it's a voltage change detector. The A-156 only operates on voltages that are between 0V and +10V so any negative voltage will not produce a trig output. This can be used to great rhythmic advantage. Try triggering the quantizer with one LFO whilst putting another into its CV input. Trig out only happens when there is a trigger in AND there is a positive CV input that is different to the previous CV input that was triggered. I do this with one LFO into both Trig Ins and another LFO into one CV In and a S/H into the other - use the Trig out's to fire ADSRs to control VCFs/VCAs and vary the rates of the LFOs and S/H to get great rhythmic patterns. 

Tone's Top Tip#4: Also try triggering both quantizers with a LFO and take X/Y outputs from the A-174 Joystick into the CV ins and use the CV outputs to control two VCOs - play nice two-part harmonies with just the joystick.

Tone's Top Tip #5: Try putting a VCO through the quantizer, it mangles the audio in a similar sort of way as a bit-crusher does. It works well at lower frequencies; you can use the CV out and the Trig out for very nasty audio distortion.


In this picture my two A-156s are in the top left next to the MFB SEQ-02. 

Rush out and buy one if you don't have one, better still buy two!


Tuesday, 7 December 2010

CV Tools Module prototype is fully working

The CV Tools Module has been prototyped and with a few minor tweaks is working very well.  

It's actually surprised me how much fun it is to use and how useful it is for getting those all important modulation adjustments right.  

It's very versatile in single, dual, triple and quad channel modes, adding, inverting, scaling and offsetting (or combinations of all). It works well enough as an audio mixer too.  The slew control is great for adding just that little bit of portamento to really slugging step changes. 

Here's a couple of photo's of it at work in my synth alongside Doepfer, MFB and TipTop modules.


Still considering a few changes such as polarity indication LEDs.  Any thoughts on features you might like to see? Oh and did I mention that there is a rear port so that one or two of these can be coupled up to a gate sequencer (next project) to give step sequencing similar to the function of the bottom half of the Doepfer sequencer (DC, modulation or audio sequences)?

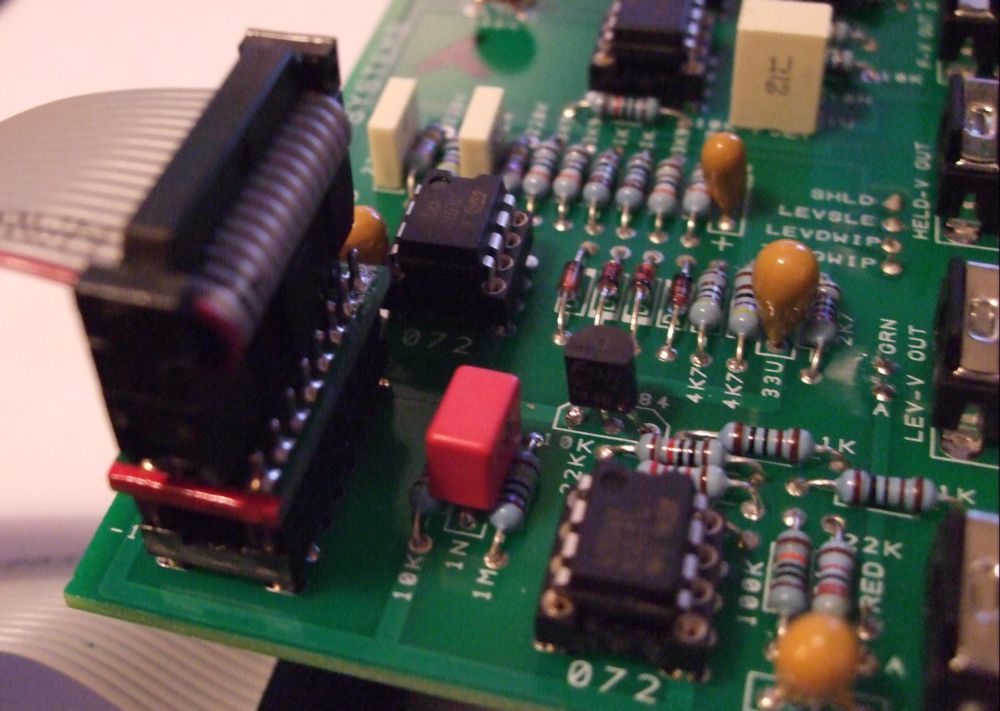
The prototype used my Kit 1 and Kit 3 DIY boards too - here's a (slightly unfocused) photo: